 |
| Our hall display-a work in progress... |
 |
| We have been working a little each week on the Our America unit that I got from Deanna Jump. I am loving it and so are the kids. We learned about the American Bald Eagle a few weeks ago and this is the only picture I took. Shucks! |
 |
| This week we learned about the Statue of Liberty. We read The Story of the Statue of Liberty suggested by Deanna in her list of books to use with the unit. This is the directed drawing we used from her unit. |
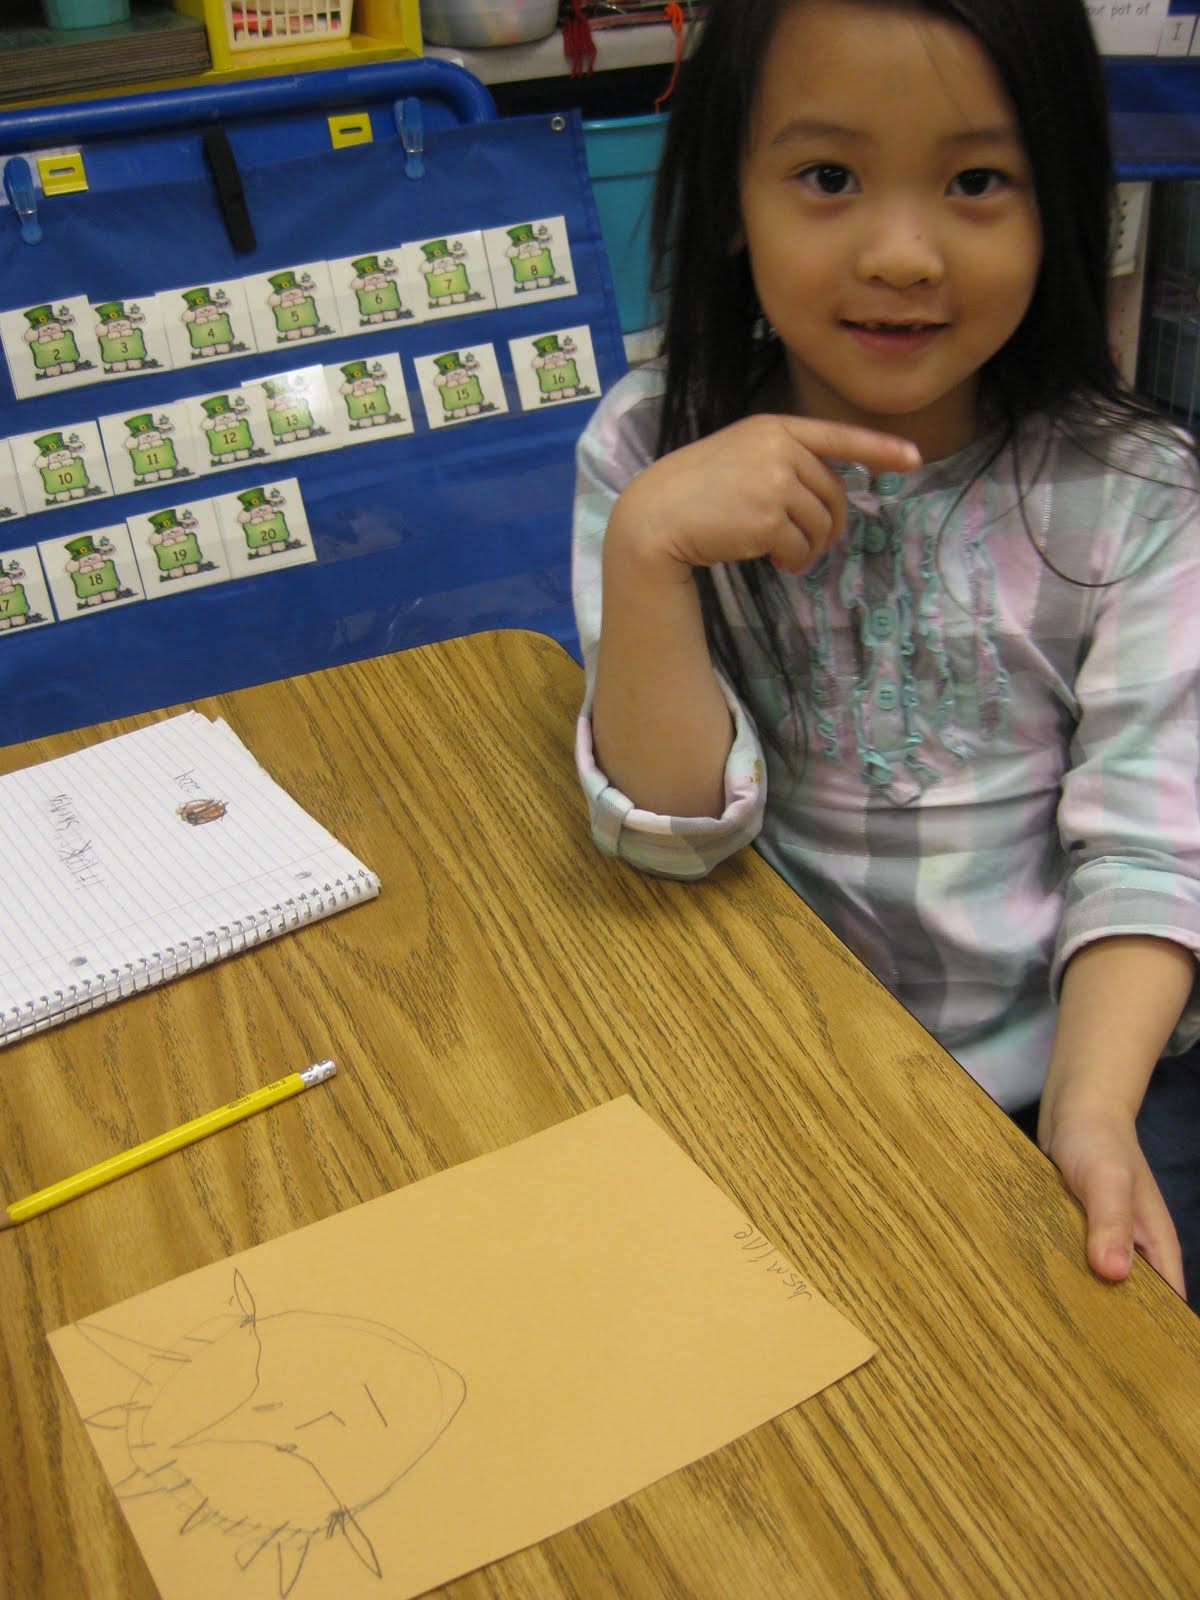 |
| We worked step by step-they loved this! |
 |
| So intent... |
 |
| The finished products. Aren't they great? All of this artwork will go in an American Symbols book along with the fact sheets they are making for each symbol. |

 |
| You can see their eagles made from their foot and hand tracings. |
 |
| Next we wanted to know how come the Statue of Liberty is green so we started with our own pennies. |
 |
| They documented what their pennies looked like before the experiment and chose a sentence to describe their penny in their science journals. |

 |
| Next we added a few drops of vinegar to the pennies to simulate the salty water that the Statue of Liberty is subjected to in the New York Harbor. |


 |
| This was another opportunity to use the Scientific Method and work through it step by step. Deanna Jump has printouts for this for free on tPt. These are the hypotheses the children came up with! I was impressed. |
 |
| A day later, take a look! |
 |
| The shinier pennies turned the greenest! |
 |
| They documented what their pennies looked like after the experiment on their own. |

 |
| The last step was to come up with our own conclusion. They are getting very good at coming up with thoughtful ideas linking A to B in these experiments. I can't wait to begin my liquids, gas and solids unit! |


Thank you so much for posting. I love seeing how the projects turn out! :)
ReplyDeleteDeanna, you are amazing! I so enjoy taking your units to the classroom and seeing how the kids respond to it all. This is what teaching is about-seeing that "spark"!
ReplyDeleteI love the penny project. I also love the way you used rhymining cards in a pocket chart. I've been using them in small groups. I think I'm going to put them in a center next week. Thanks!
ReplyDeleteLove these ideas. Is it possible to get a copy of this unit? We are doing our American symbols unit now.
ReplyDelete